IIS 6 and Windows 2003 setup for WebDAV Navigator
These instructions have been tested on IIS 6 and Windows 2003 Web Edition. To enable WebDAV sharing through your server follow these steps:
You first need to ensure you have installed the WebDAV extension, to install it
- Run the Add or Remove programs application from the Control Panel
- Click on the option to Add/Remove Windows Components
- Select the Application Server option, and then press the Details button
- Select the Internet Information Services (IIS) option and the press on the Details button
- Select the World Wide Web Service option and then click on the Details button
- Select WebDAV Publishing
- Click OK and complete the setup and installation

Configure a new folder WebDAV folder
- Launch Explorer and create a folder you want to share through WebDAV, say c:\webdav\
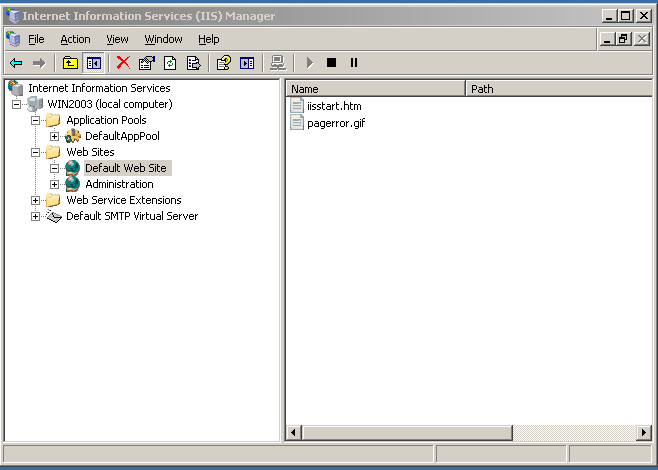
- Launch the Internet Information Services (IIS) Manager application
- Ensure the WebDAV extension is "allowed"
- Expand the tree structure until you see the Default Web Site item
- Right click and then create a new Virtual Directory
- Follow the wizard prompts to create a "webdav" directory
- Direct the wizard to the path you have previously created
- Set the permissions to read/write/browse


Connecting to your new share
- From within WebDAV Nav add a new server connection
- Your URL should now be of the format http://{server_ip_address/webdav/